
Before you sign in
You need your organisation’s Tenant Code, your email address and password. The Tenant Code identifies the customer database; it is not the same as a company or branch.
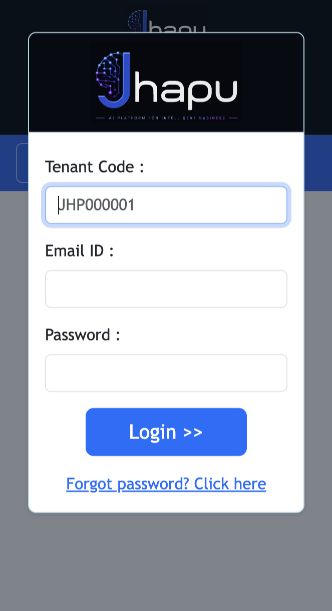
Your Tenant Code is provided when your trial or subscription is activated. When a subscription is created, Jhapu automatically creates the first Administrator user using the email address entered during subscription.
Sign in and select a company
After a successful sign-in, Jhapu opens the company-selection page. All companies are visible, but only companies for which your user account has access are enabled and can be selected.
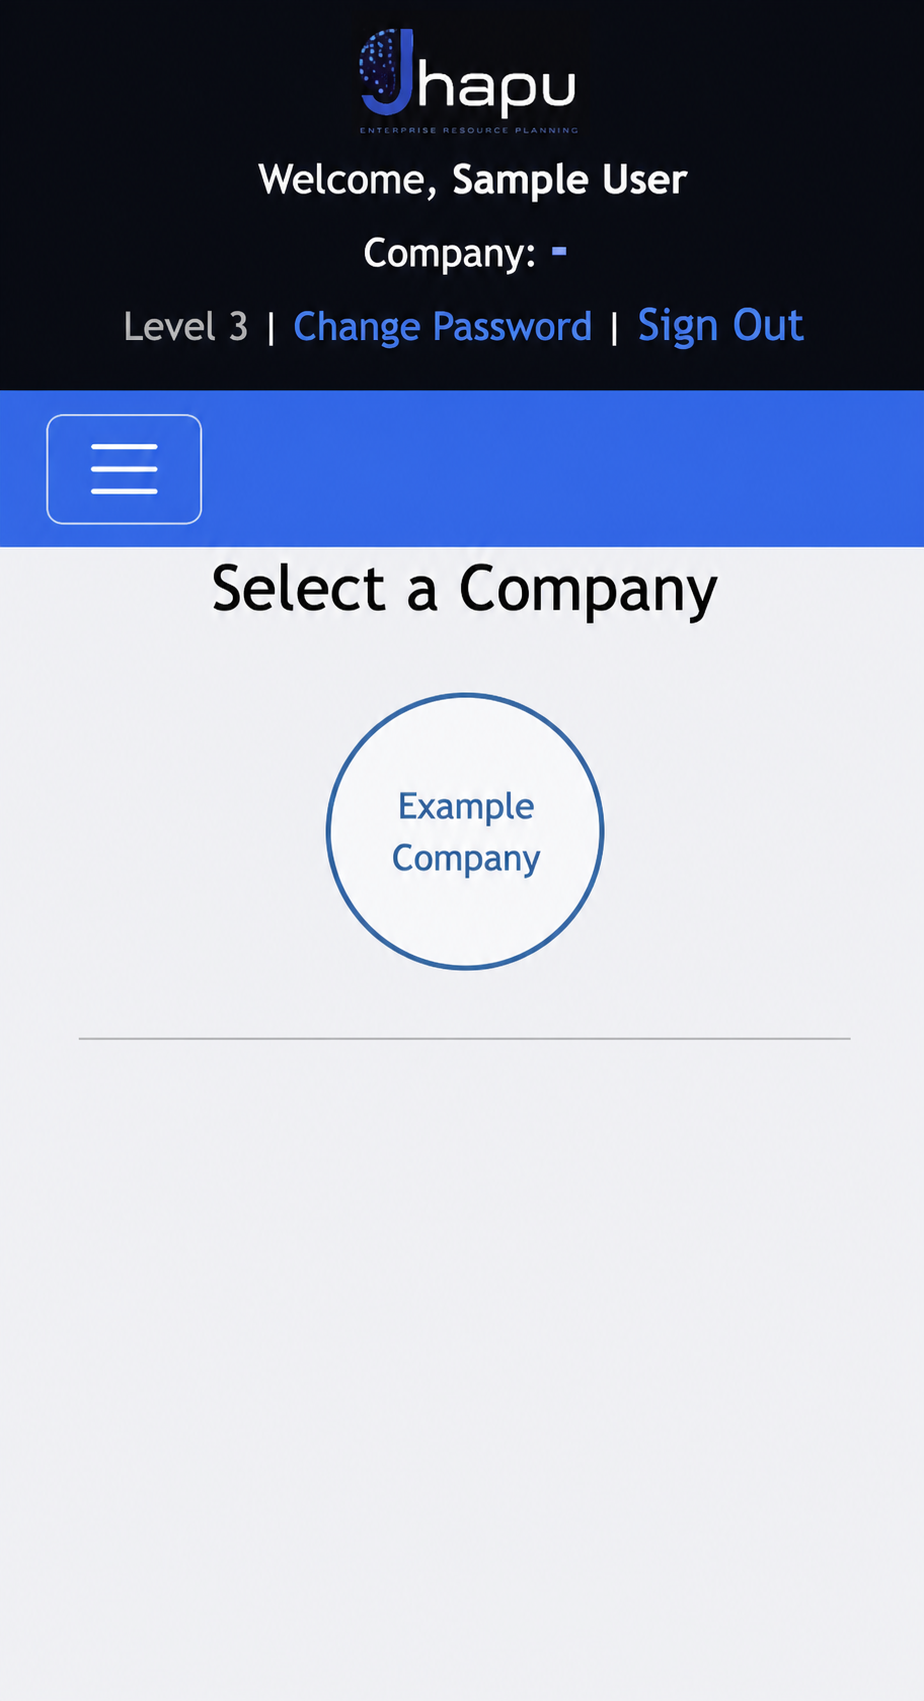
During tenant setup, Jhapu creates one company by default. Additional companies can be created later and made available to the appropriate users.
- 1Open the ERP login page
Enter the Tenant Code, Email ID and password assigned to you.
- 2Select your company or branch
All companies are visible, but only the companies assigned to your user account are enabled for selection.
- 3Confirm the financial year
Choose the year in which transactions should be created and reports should be viewed.
- 4Check the dashboard
Confirm that your name, company and access level are correct before entering data.
Recommended first-time setup
- Create or verify companies, stores and financial years.
- Create users and give access only to required modules.
- Review GST states, GST rates, HSN/SAC and TDS sections.
- Prepare Ledger, Item, Unit, Category and Store masters.
- Enter opening balances and verify the Trial Balance.